


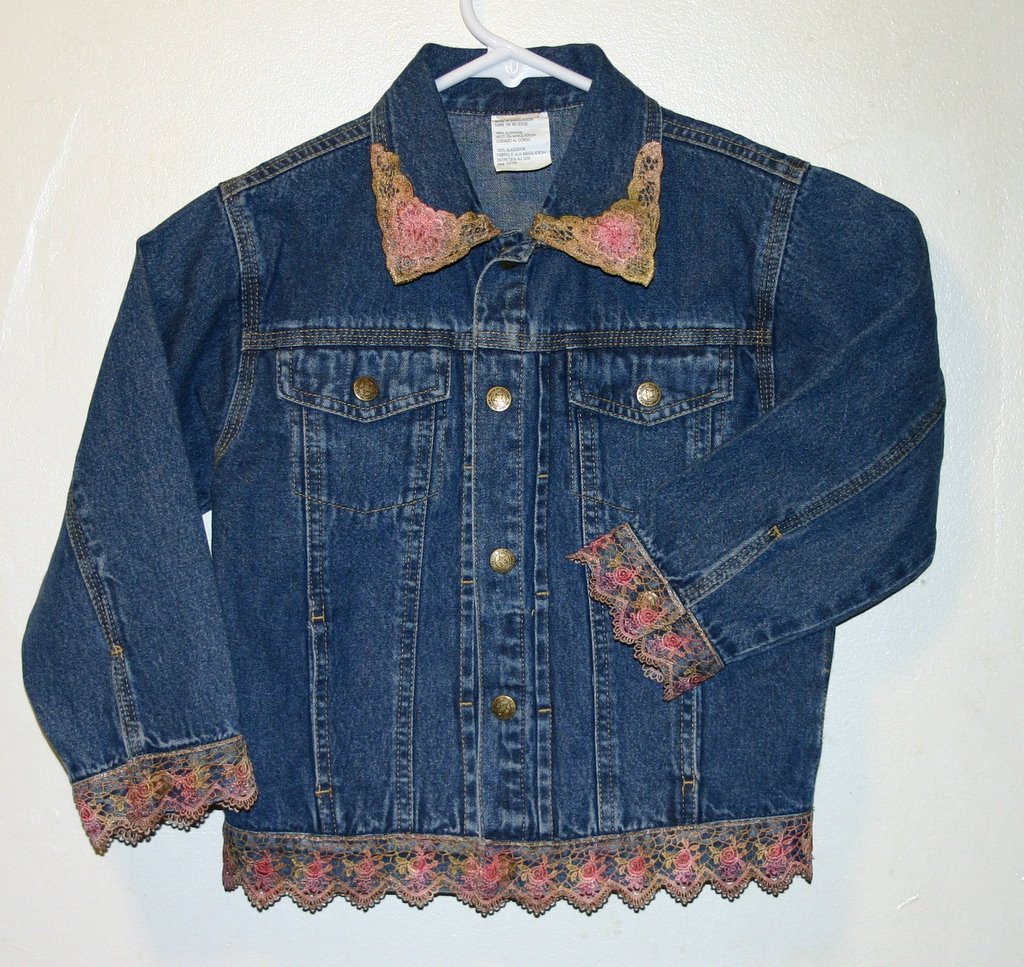
 I made sizes 24 months, 3T and 5T with jackets that I bought at Wallmart for under $10.00. The lace came from JoAnn Fabrics. I bought the dye from www.ryndaoriginals.com. Hand dying the lace so such fun. The lace did not turn out the way I imagined in my head, it was much less controlled. When the lace dried I fell in love with the look. The only trick in this was the collar corners. Sew the outside of the lace to the collar first, then press the top of the lace to fit and sew that down.

 By changing the neckline and adding bias trim, using a rolled hem for the bottom finish, this is a quick and flattering top. I have found a quick way to add bias. I cut the bias about 2" wide. Sew only one shoulder seam. I press the tape in 1/2, then take and press 1/2 of that. I serge one side on the bias tape, the widest side is serged. After attaching the bias, R side to R side, raw edges together, place foot on the 1st pressed crease, ( this will put your thread line about 1/4" away from the crease) stitch all around the neck, roll the bias tape over and press. The serged side of your tape is now on the inside of the top. Sew the other shoulder seam closed. Make sure that the seam line from the bias matches. Back to the ironing broad, press open the shoulder,turn and press the bias in the shoulder area. I have to play with this a little. You may want to clip the corners to reduce the bulk. NOW TOP STITCH!!!!! Having the serged edge on the inside of the blouse saves doubling the tape, you are only sewing through 4 layers instead of 5. I think it hangs better. The blouse fabric is raw silk, pre-washed and dried. I cut out the size 18, but when I am done it turns into a size 10. It is amazing how that happens with everything I sew. I have washed this top many times and the rolled hem and bias holds up very well.
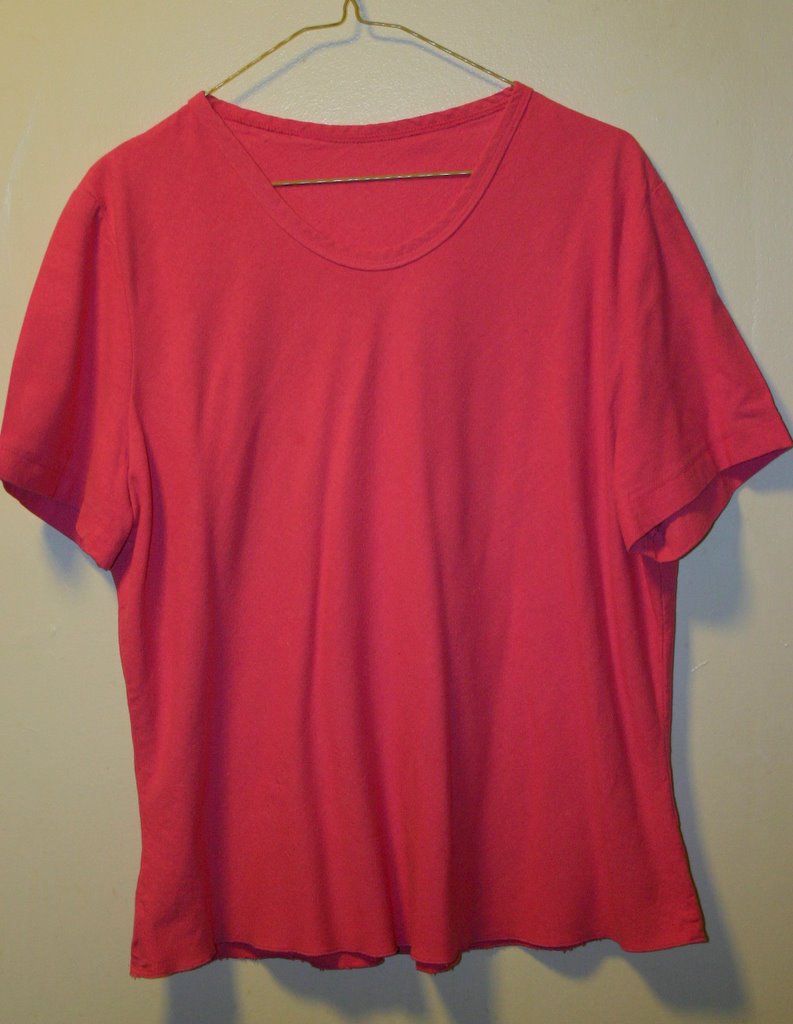 This is my favorite summer top!
 Fun adaptation of a bias blouse.


 Pattern is"Sew Creative Jacket" by Jo Lee Tarbell.
Wool jacket, that I washed the fabric and dried, before sewing. I used ultra suede and wooden buttons for the embellishments. Cut the ultra suede free hand for the leaves and then top stitch on to the jacket. Make sure to use a tear away stabilizer under the leaves!
The fun part and new to me, is using my pearls and piping foot with my seger to simulate piping. I used a thick wool yarn for the piping, I did this because I wanted to keep the flow of the jacket the same, yet give it a finished look. The leaves on the jacket are ultra suede with biege stitching, Wood leaf buttons were purchased at Jo Ann Fabrics.
For the faux piping, you put on the pearls foot on the serger, lay the yarn in the slot for the pearls, have the yarn extend out the back of the foot about 1". The yarn will fill the slot. Keep the yarn loose in your lap. No tension at all on the yarn, it will feed very well. Take a scrap of fabric and do a test sew. Adjust the tensions until you like the look of the piping. With my seger, it said to put the needle in the left needle hole. It works better in the right. I did not close one seam at the bottom side of the coat or the sleeves. I left about 4" unstitched, started the faux piping at that open side....went all around the jacket. Then closed the side seam of the jacket and sleeves.
Pattern is"Sew Creative Jacket" by Jo Lee Tarbell.
Wool jacket, that I washed the fabric and dried, before sewing. I used ultra suede and wooden buttons for the embellishments. Cut the ultra suede free hand for the leaves and then top stitch on to the jacket. Make sure to use a tear away stabilizer under the leaves!
The fun part and new to me, is using my pearls and piping foot with my seger to simulate piping. I used a thick wool yarn for the piping, I did this because I wanted to keep the flow of the jacket the same, yet give it a finished look. The leaves on the jacket are ultra suede with biege stitching, Wood leaf buttons were purchased at Jo Ann Fabrics.
For the faux piping, you put on the pearls foot on the serger, lay the yarn in the slot for the pearls, have the yarn extend out the back of the foot about 1". The yarn will fill the slot. Keep the yarn loose in your lap. No tension at all on the yarn, it will feed very well. Take a scrap of fabric and do a test sew. Adjust the tensions until you like the look of the piping. With my seger, it said to put the needle in the left needle hole. It works better in the right. I did not close one seam at the bottom side of the coat or the sleeves. I left about 4" unstitched, started the faux piping at that open side....went all around the jacket. Then closed the side seam of the jacket and sleeves.