

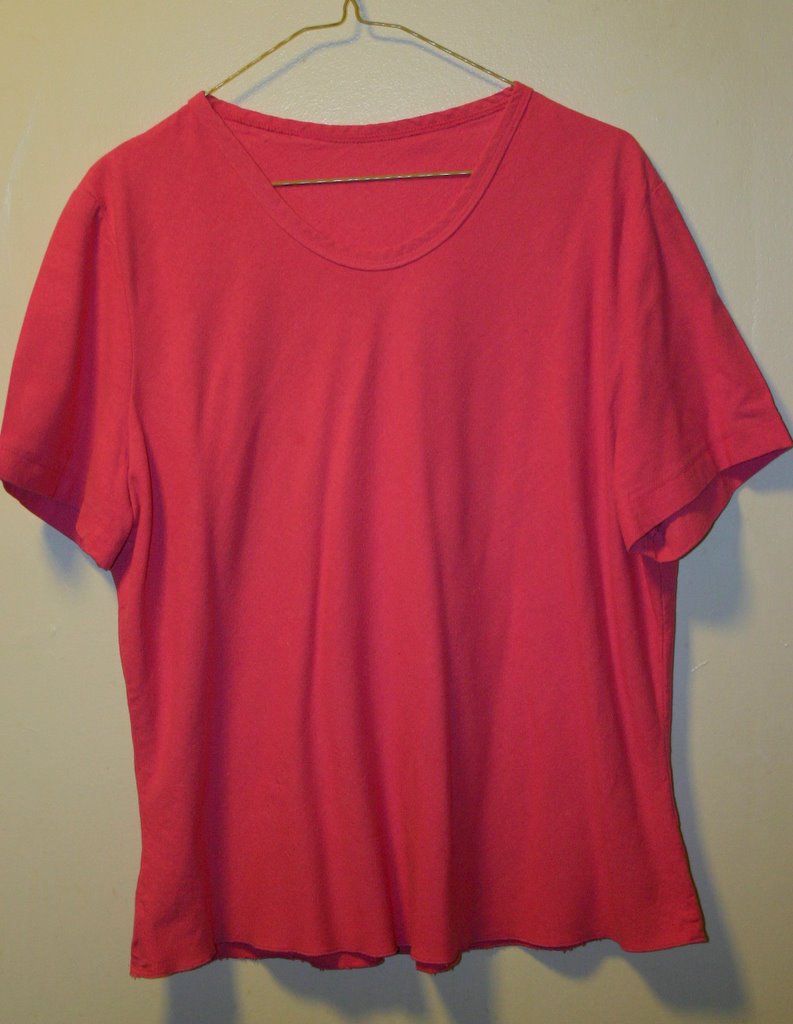
By changing the neckline and adding bias trim, using a rolled hem for the bottom finish, this is a quick and flattering top. I have found a quick way to add bias. I cut the bias about 2" wide. Sew only one shoulder seam. I press the tape in 1/2, then take and press 1/2 of that. I serge one side on the bias tape, the widest side is serged. After attaching the bias, R side to R side, raw edges together, place foot on the 1st pressed crease, ( this will put your thread line about 1/4" away from the crease) stitch all around the neck, roll the bias tape over and press. The serged side of your tape is now on the inside of the top. Sew the other shoulder seam closed. Make sure that the seam line from the bias matches. Back to the ironing broad, press open the shoulder,turn and press the bias in the shoulder area. I have to play with this a little. You may want to clip the corners to reduce the bulk. NOW TOP STITCH!!!!! Having the serged edge on the inside of the blouse saves doubling the tape, you are only sewing through 4 layers instead of 5. I think it hangs better. The blouse fabric is raw silk, pre-washed and dried. I cut out the size 18, but when I am done it turns into a size 10. It is amazing how that happens with everything I sew. I have washed this top many times and the rolled hem and bias holds up very well.

This is my favorite summer top!
 Fun adaptation of a bias blouse.

 By changing the neckline and adding bias trim, using a rolled hem for the bottom finish, this is a quick and flattering top. I have found a quick way to add bias. I cut the bias about 2" wide. Sew only one shoulder seam. I press the tape in 1/2, then take and press 1/2 of that. I serge one side on the bias tape, the widest side is serged. After attaching the bias, R side to R side, raw edges together, place foot on the 1st pressed crease, ( this will put your thread line about 1/4" away from the crease) stitch all around the neck, roll the bias tape over and press. The serged side of your tape is now on the inside of the top. Sew the other shoulder seam closed. Make sure that the seam line from the bias matches. Back to the ironing broad, press open the shoulder,turn and press the bias in the shoulder area. I have to play with this a little. You may want to clip the corners to reduce the bulk. NOW TOP STITCH!!!!! Having the serged edge on the inside of the blouse saves doubling the tape, you are only sewing through 4 layers instead of 5. I think it hangs better. The blouse fabric is raw silk, pre-washed and dried. I cut out the size 18, but when I am done it turns into a size 10. It is amazing how that happens with everything I sew. I have washed this top many times and the rolled hem and bias holds up very well.
 This is my favorite summer top!
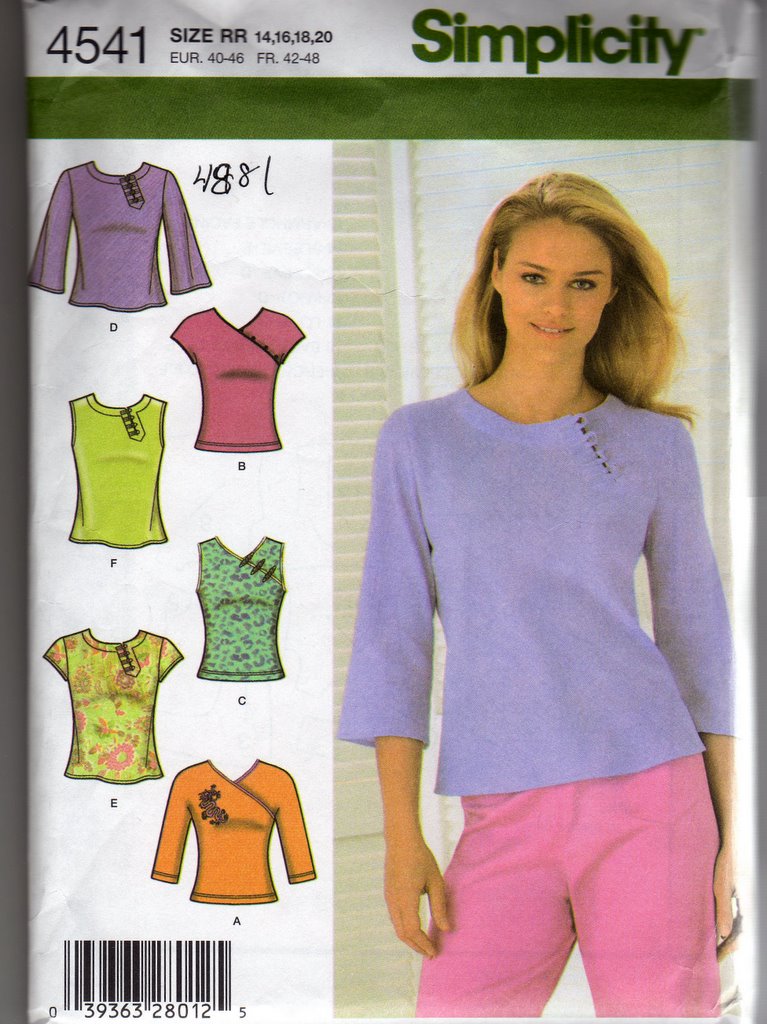 Fun adaptation of a bias blouse.
4 comments:
The blouse looks great. Sewing one shoulder seam and then applying bias tape at one go sounds easy. I'm not sure I understand the bias technique completely. Is it possible to show the photos of application of bias tape in steps for your next project?
Never mind, I found the instructions on your latest post.
Hey what a great site keep up the work its excellent.
»
Your are Excellent. And so is your site! Keep up the good work. Bookmarked.
»
Post a Comment